I have used the base line parts recommended from Sonex but mine being the Legacy model the stuff just ain't gonna fit. I don't need another disc brake kit where nothing fits arriving so I have gone it alone. I have chosen a small 2x path multi core radiator in the hope it will be a lot more efficient than the big trans cooler they have on offer as the solution. I could be wrong and will find out soon enough. It seems to fit in with my cowl well so here's to some good luck coming my way.
So first things first I chose to use metal cooling fittings on the housing. This soon turned out to be mistake number 1. The service bulletin Aeroconversion turbo drain sump impedes the hose connection so off that came for a little love from the bastard file. I bore myself a path for the hose and refitted the sump with the new all access hose connected. For the true conservatives out there I wont be using those hose clamps either by the way. They are just there till I buy some good ones.

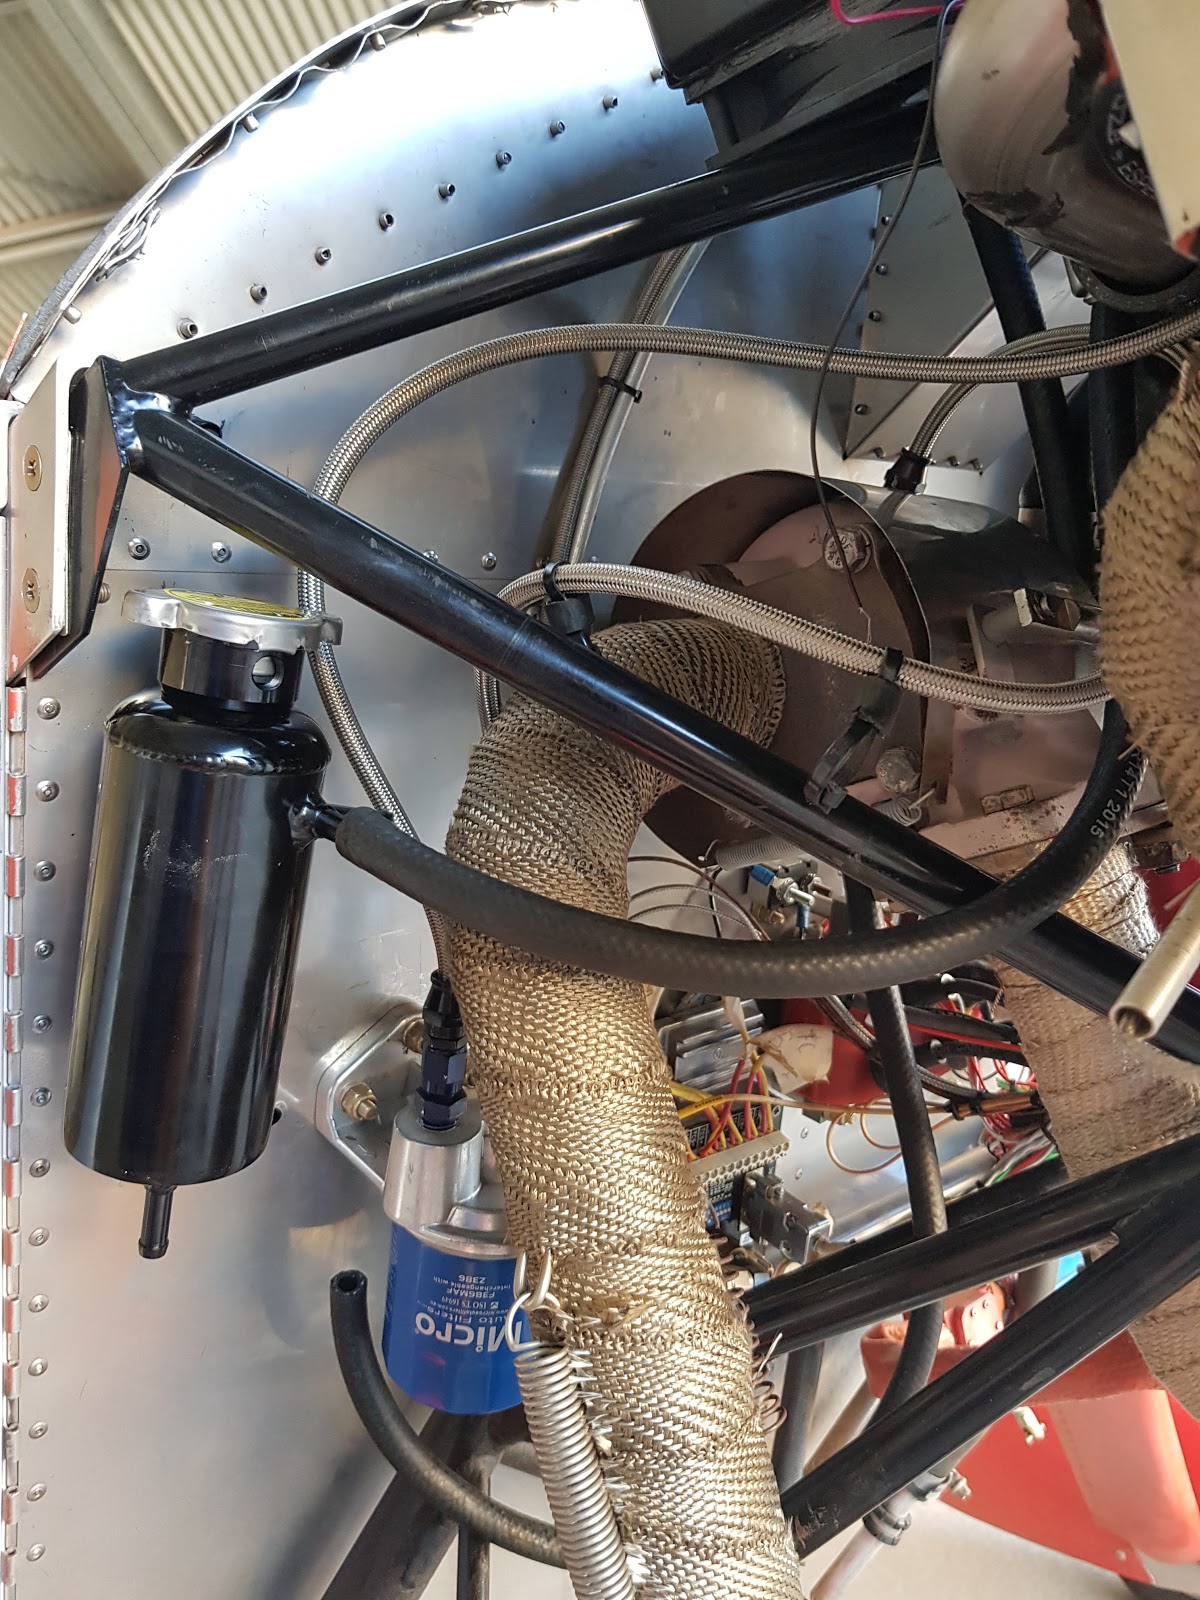
Next the oil filter had to move. Lucky the wife came in to share my Sunday undoing the nuts on the other side of the firewall as I never installed Riv nuts. Do yourself a favor anyone reading this and use riv nuts or encapsulated nuts or anything other than straight nut and bolt like I did. That way you won't have to share the pain of working on your plane and not having to rely on others for this endeavour would also be good.
I am not sure if the header tank will be any good in this position. The cap is easily removed but only with the cowling off. My aim is not to have to take the cowling off to pre flight it but I will for the next foreseeable future until the system proves itself or not. I am hoping to bleed all the air out of it with the electric pump running and if all goes well and it doesn't reach boiling point the water level should be fine and managing and monitoring temps should indicate to me if I have a loss of coolant issue or not.
This is my cute little radiator. I can double it in size if I need to but will trial the small one first as it fits under my current vents in the cowling perfectly. I hope with all the air flow in flight it will work well. It's obviously not fully mounted yet and I haven't decided exactly how I will mount it but along these lines seems easy enough with some cowling seal on the top to seal the canopy onto the rad.

I will take this fitting off again and install the old type CHT sensor back under it again. I really want to see the difference in temps from before and after the cooling mods to see if I need to add a larger heat exchanger or not.

I don't have any pics of the SP-7 install. Not much to tell really on that front. I stole a power and earth from the SP-6 in the back, tapped into the can lines, plugged it in and guess what? Yep it works. I will mount it on Valco as the Mgl dealer suggests, under the seat and close to the center of rotation. It should be good. Just need to clean up the wiring a bit and tie it all down.
No comments:
Post a Comment