Thursday 21 May 2015

Brakes, Spats and gear leg fairings

I had often thought that when I first flew the plane it probably wouldn't have wheel spats and fairings fitted. I figured I would get around to it during the flight test hours . I did however get really enthused one day last week and started on them. It did take me two full days but all in all I thought they went on relatively easy. I have taken them off again as I need to paint them. Mainly I was keen as I read a post or heard, I can't recall, that it takes around an extra 10hp to push a Sonex through the air at cruise speed without those two components which could also induce overheating issues. So at the mere mention of overheating I set forth with purpose to make and fit them. Plus the Sonex looks way cooler with them on.... Makes a statement I reckon ... It just shouts out FAST.  


I have made some attempts at the first round of putty for the seams and some more tidying up of the spats is prudent before I try to prep them for paint. That can wait until the cowling is all done as well, then I can paint everything at once.


I have also finished fitting the Brake lines yesterday. I need to do something with how they pass through the firewall however. As yet I'm not sure, but I will think of something. 


Oh and this pic is what I did with the rear spring attach for the trim system. Not elaborate but I think solid and effective. And really how strong does it need to be?  The spring is only held onto the elevator tube with a hose clamp so if anything is going to move it will be the spring slipping back on the tubing.

Fuel system

Contrary to my wants about a simple fuel system I have gone ahead and ordered a Gascolator.


I didn't want to due to the issues they can cause with using an Aerocarb but thought it really is the best way to filter the fuel and have a standard water trap.

That little 1/8 npt bung there made me feel so good to fit. Having forgot to order one with the gascolator I remembered I had one floating around from my last plane build. You wouldn't believe how long I spent looking for that little bad boy but the sense of righteousness after I found it and installed it, after having stored it in my shed for years, made my day. Best part too was it even was a matching colour. :)  


I have decided to try to use the Aerocarb again. I want to see if I can get it going on the engine and plane it was designed for. Also at this stage I don't want to buy a $1200 Rotec TBI. I love the product but I think the guy selling them is a .....   

I am hoping that I can get it working fine and maybe my issues on the other plane were the very high head pressure from the high wing tanks affecting things badly and the heat build up. Consequently however none of that matters with the Rotec TBI. They perform so well I probably will end up buying one but that is something I can do later down the track if things don't go well with this Aerocarb. 


View of the fuel tank fittings. I would like to make some form of lever for the fuel valve on the dash but will give it some thought and see how I go. 


 I have been getting some nice flying in lately now that I have sorted out a lot of the issues with my other Aerovee. This a such a great time to fly here in Winter. Nice and smooth and not hot. 

I can't wait till I can do the same thing in the Sonex.

Dial a Trim and flaps

So I added the Dial a trim to the plane.


Quite a neat little idea really. Saves me making a trim tab for the elevator and fits nicely. I couldn't make out the instructions for the rear bracket on this one so had to go and fabricate something serviceable to mount the rear spring to. I must go and take some photos of it as it is a mod that is not on the plans and should be recorded. It's no big thing really but worthy of being mentioned.

Oh and as you can see from the top picture, I have made the flap handle now and fitted the brackets associated to that. 1st and 2nd stage flap bracket assy.

Cowling

Well I can definitely remember why I hate fibreglass.


I have been covered in it now for days and I seem almost to be getting used to it. I had big reservations about the cowling and how much of a mongrel it was going to be in my head but so far really it has been a piece of cake. I have, as usual, followed the Sonex instructions and it has come out well so far. I have really been shitty that the southco studs are not in the hardware kit. I have made it up to the bit where I need the studs however proving to get them in Australia has been very difficult. I still don't have any yet but fingers crossed my local shop can supply some after market copies. I toyed with the idea of doing the mod to split the cowling but again making the decisions to stick to the plans. At the end of this build I just want a standard Sonex. Easy to maintain and same as all the others. 


These little buggers have spoiled my day for the last 3 days trying to get hold of them. Of course I can get some from the US no worries,,,but also pay the $65 freight to get them here. 

Firewall Forward

The firewall forward work has been going along at a reasonably steady pace in this stage.


I have been busy wiring up the engine bay and making the battery box and so forth. The battery box I had to install over on the Left hand side and essentially it was very close to the exhaust if I followed the plans. I have been trying to map things out to the best that my foresight will allow and hope that I don't encounter problems with lack of real estate as I go along. The battery box I made out of stainless steel as I had some left over. I think it matches well on the firewall and is stronger. I had also made a side hinge that will allow me to remove the battery as above the battery I installed the factory air/oil separator. This did take some serious head scratching to juggle it all in there neatly. 


Factory CHT sensors installed. They had been fantastic on my other engine so I just had to use these again. 


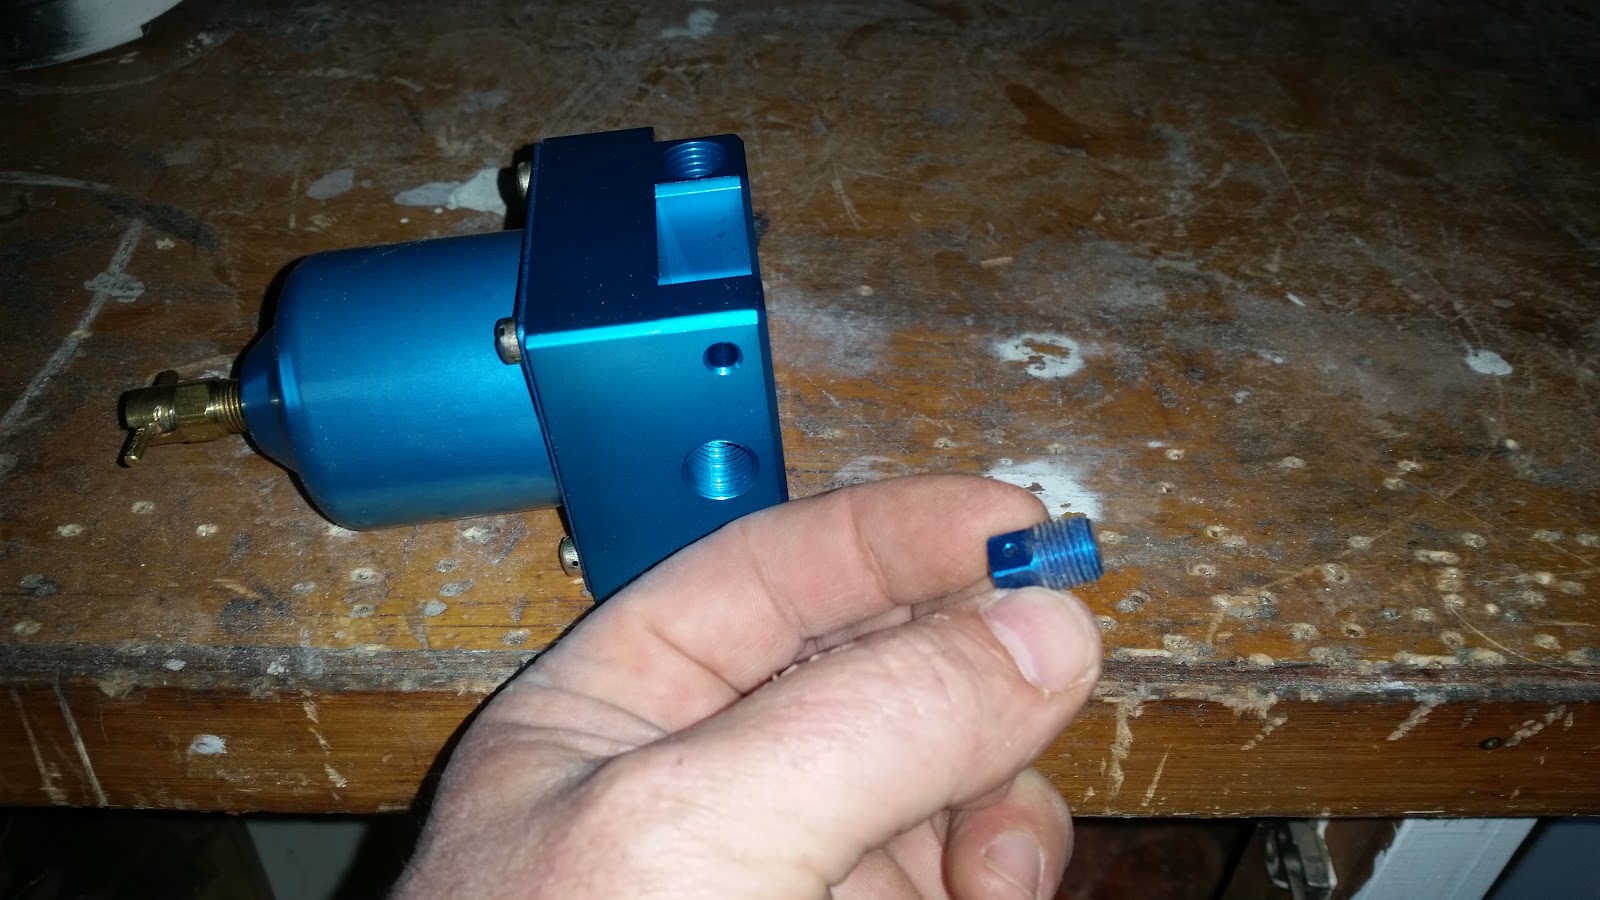
You can see the oil lines that have to be made for the turbo addition in these two pics. I had never worked with aluminium piping before and it was good. I think that I would like to change all the fuel lines now on my old plane to this type. It seems a more robust idea and this will also reduce the need to periodically replace them all which is a pain. Plus they look a heck more reliable. 


Coils and air/oil separator fitted. Coils in the usual spot and the master solenoid next to it. I also added a starter relay to the fray. I was going to just run it through the switch but it really was asking a lot of the poor old Narva ignition switch I used. The switch had a max current flow of 12 amps so was probably marginal so I added the 40 amp relay into the equation to make sure.


  I almost made a huge mistake with this cable. I made it, had it all fitted, and realized it went to the wrong battery terminal. that would have been a bad blue. I actually only really took this pic as it had MADE IN AUSTRALIA on the wiring :) at  least something I'm putting on the plane is Made in OZ.  If only but for a few wires.


A mate of mine gave me this mil spec plug and it turned out to be just the bee's knees.  It has 26 pins that can take a fair current. It was second hand so I had to cut off all the old wiring and add the tefzel wiring to it. This was a nice sit down easy job and has really neatened up the wiring significantly and it goes through the firewall with a good fire proof plug.

I still have a lot to do before the electrical side of things are complete. The instruments are still not here but should be only a day or so away. I expect this should be reasonably easy to finish up then. I have also added a narva 2 amp usb plug to the dash. We all know how much an in flight entertainment system is invaluable these days. hehe  IPAD..  so I don't get lost in this big country of ours :)